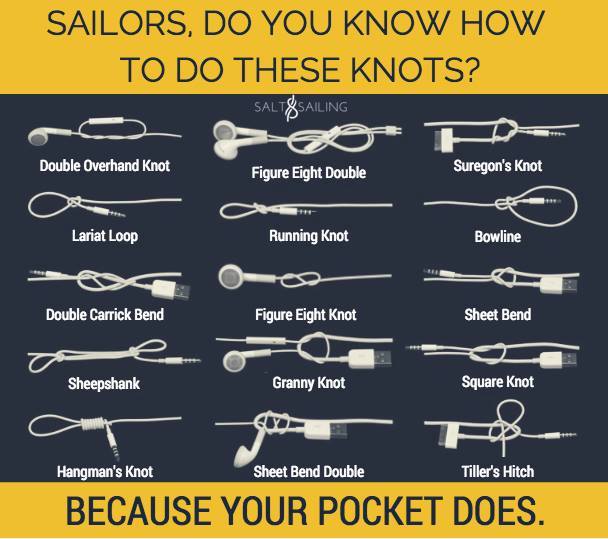
When it comes to yachting, the ability to tie and use knots effectively is crucial. Although not exclusive, here’s a list of essential knots for yachts, along with brief descriptions and a video (courtesy of Animated Knots) of their uses:
1. Bowline Knot
Use: Creates a fixed loop at the end of a line. It is ideal for tying your sheets to the clew of your jib, mooring, towing, or making a loop in a rope.
How to Tie:
Make a small loop in the rope.
Pass the end of the rope through the loop from underneath.
Bring the end back around and through the loop again.
Tighten the knot.
2. Clove Hitch
Use: Fastens a rope to a post or rail. It is useful for tying off fenders or securing a line temporarily.
How to Tie:
Wrap the rope around the object.
Cross the rope over itself.
Wrap around again, placing the end under the second wrap.
Tighten the knot.
3. Sheet Bend
Use: Joins two ropes of different diameters or materials. It helps extend a line or join sheets.
How to Tie:
Make a U-shape with the thicker rope.
Pass the thinner rope through the U-shape.
Tuck the end of the thinner rope under itself and pull tight.
4. Figure Eight Knot
Use: Acts as a stopper knot to prevent the rope from slipping through a block or fairlead.
How to Tie:
Make a loop with the rope.
Pass the rope’s end around the back of the loop.
Bring the end through the loop.
Tighten the knot.
5. Double Half-Hitch
Use: Secures a rope to a cleat or post. Commonly used for docking lines.
How to Tie:
Wrap the rope around the cleat.
Pass the end of the rope under the first wrap.
Make another wrap and tuck the end under.
Pull tight.
6. Rolling Hitch
Use: Attaches a rope to a cylindrical object, such as a spar or a mast. Useful for hauling or holding a line in place.
How to Tie:
Wrap the rope around the object.
Cross the end of the rope over the standing part.
Make another wrap-around.
Tuck the end under the last wrap and pull tight.
7. Cleat Hitch
Use: Secures a line to a cleat. Essential for docking and mooring.
How to Tie:
Wrap the rope around the base of the cleat.
Cross the rope over itself.
Make a figure-eight pattern around the cleat.
Tuck the end under the last wrap and pull tight.
Visual Aids
Instructional videos courtesy of Animated Knots
Each knot has its specific strengths and best uses, so practice them and understand their applications to ensure safe and effective handling of lines on your yacht.
NAVIGATION RULES CLINIC + BASIC SAIL TRIM COURSE
These FREE online sailing lessons are a great refresher courses for EVERYONE.
Take these FREE courses now and check out how simple and easy it is to take a NauticEd online sailing course.Estimated time: 20 minutes each.
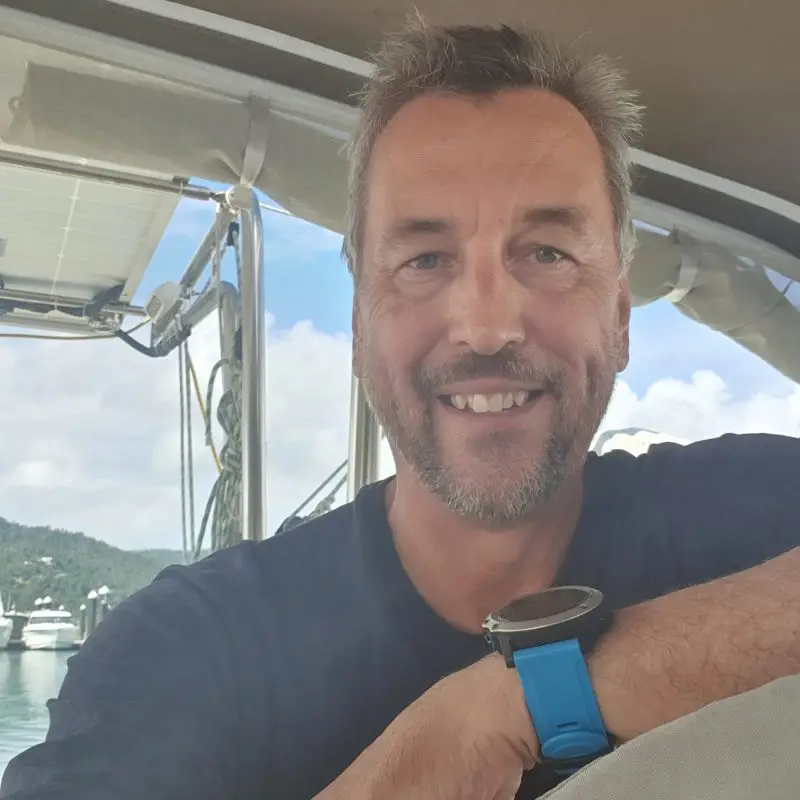
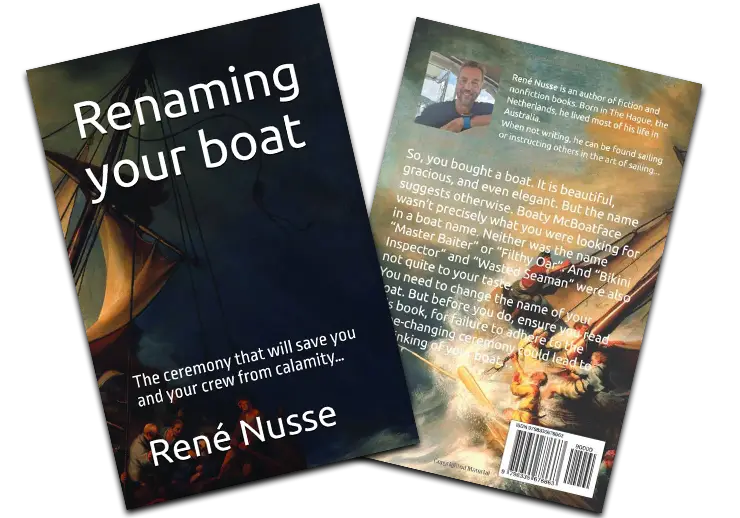
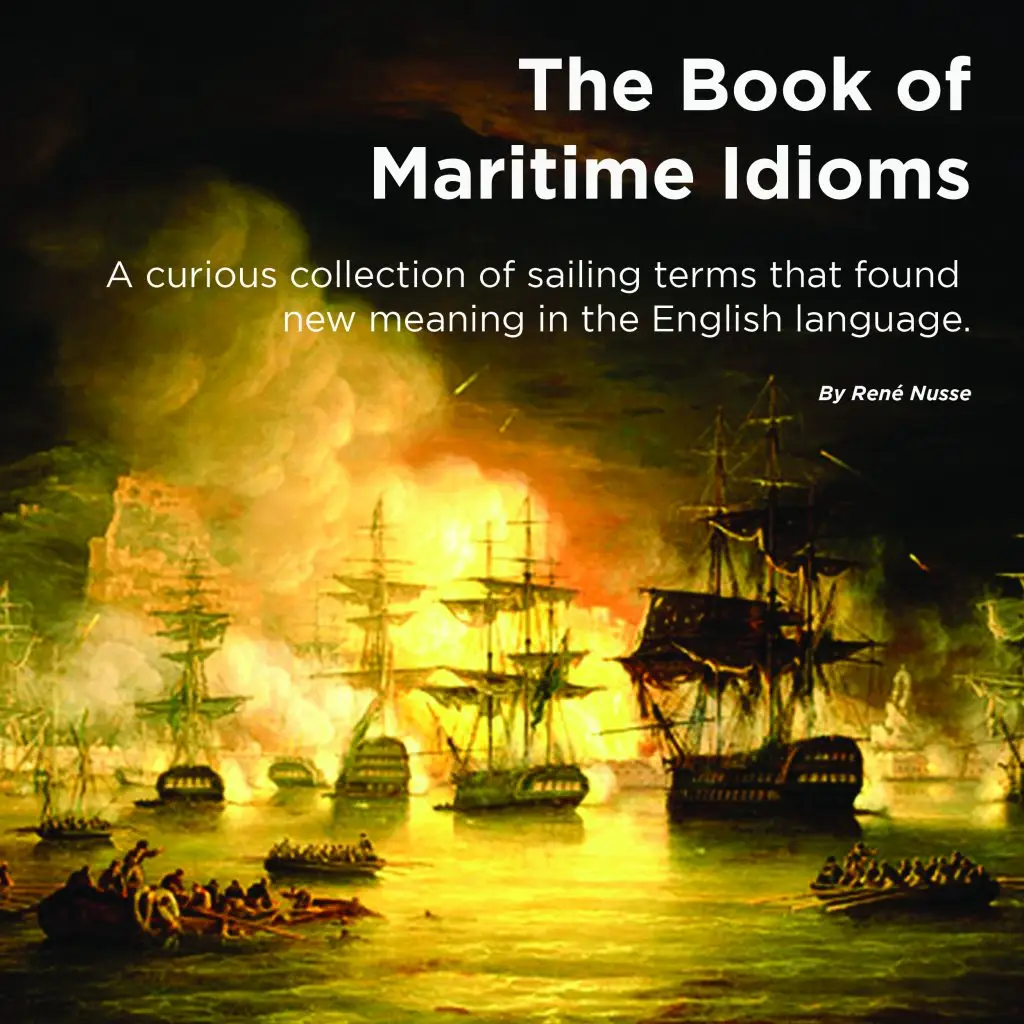
Rene is a keelboat instructor and sailing coach in the Mandurah area WA. He is also the author of several books about sailing including "The Book of Maritime Idioms" and "Renaming your boat".
So, you bought a boat. It is beautiful, gracious, and even elegant. Unfortunately, its name suggests otherwise.
Boaty McBoatface wasn’t precisely what you were looking for in a boat name. Neither was the name “Master Baiter” or “Filthy Oar”. And “Bikini Inspector” and “Wasted Seaman” were also not quite to your taste.
You need to change the name of your boat. But before you do, ensure you read this book, for failure to adhere to the name-changing ceremony could lead to the sinking of your boat…
Many old sailing, maritime, and nautical terms have found new meanings in modern English. From feeling blue to showing your true colours, from pipe down to eating a square meal per day, all these modern expressions find their origin in the maritime industry.
The comprehensive list of 200+ idioms will surprise you. Beautifully illustrated, this book covers the idiom’s etymology, current meaning, and an example of how we use it in modern-day speech.